
Peng Meng Boss Guide: Axemaster Strategy & Dread Axe Reward
Beat Peng Meng in Phantom Blade Zero: every axe attack read, the safe spot behind the Axemaster, and how to claim the Dread Axe Phantom Edge.
Peng Meng, the Axemaster, is the first boss who hits like a truck. He waits at the Valley Outpost in Weeping Creek Valley, swings a tree-sized axe, and punishes anyone who stands in front of him. He is also the most generous boss in the early game: every attack is slow, telegraphed, and followed by a long recovery.
The reward is worth the detour. Peng Meng drops the Dread Axe, a Destructive Phantom Edge that also breaks chains in exploration, opening shortcuts you cannot reach with a sword.
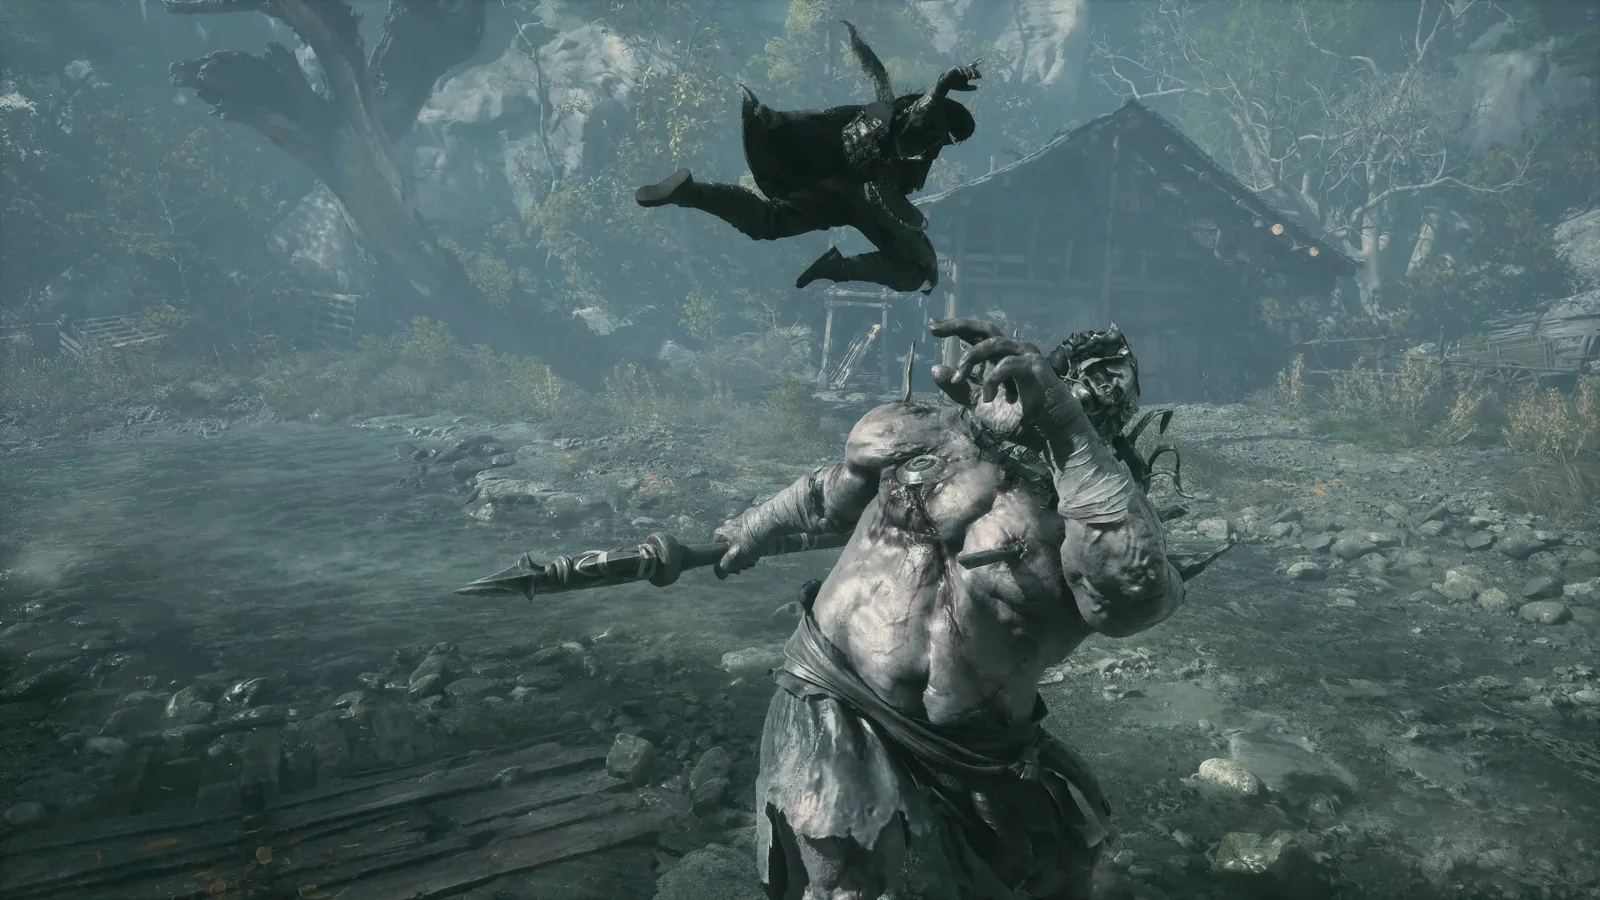
Stand behind him, not in front. Dodge through the axe swing, punish the recovery with one heavy combo, and repeat. Do not try to parry the ground slam or the grab.
Location and reward
| Detail | Answer |
|---|---|
| Region | Weeping Creek Valley, Valley Outpost |
| Type | Mandatory story boss |
| Reward | Dread Axe (Destructive Phantom Edge) |
| Extra use | Dread Axe breaks chains in exploration |
| Weak point | Slow recovery after every overhead swing |
Attack table
| Attack | Tell | Answer | Punish |
|---|---|---|---|
| Ax Rush | He lowers the axe and charges forward | Directional dodge to the side | One heavy attack as he passes |
| Stomp and Grab | A foot stomp followed by a lunge | Dodge the stomp, then dodge away from the grab | Two light attacks |
| Stomp and Swing | Stomp, then a wide horizontal axe cut | Dodge the stomp, parry or dodge the swing | One light attack |
| Charging Slash | A running overhead cut | Dodge late, toward his back | Full Triangle string |
| Axe Drop | He raises the axe overhead and slams it down | Step to the side, not backward | Two light attacks or one heavy |
| Elbow Charge | A short shoulder charge when you stand too close | Dodge sideways | One light attack |
| Ground Stomp | A radial shockwave with a short range | Step out of the ring, then re-enter | One heavy attack |
Peng Meng's tells are all in his shoulders and hips. When he raises the axe with both hands, the next move is a vertical slam; when he twists his torso, it is a horizontal sweep. The horizontal sweep is the one that catches players who dodge backward, because the arc covers the retreat lane.
The safe spot
The fight has one dominant position: behind his left leg. Peng Meng turns slowly, and most of his swings start in front of him. If you stay at his flank, he has to reset his facing before every attack, which gives you a free second to punish.
Do not stand at maximum range. At range, he defaults to Ax Rush and Charging Slash, both of which close distance faster than your backstep. Close range behind him is safer than mid-range in front of him.
Phase strategy
Peng Meng does not have a traditional second phase. Below roughly half health he becomes more aggressive and chains two attacks together, usually Stomp into Swing or Stomp into Grab. The answer is the same: dodge the first hit, wait for the second, then punish.
- Open with a light combo to his flank. Do not use Triangle yet; keep Sha-Chi for the guard break.
- Bait the overhead. Stand just outside his front arc. When the axe goes up, step to his side and punish the ground impact.
- Dodge through, not away. The axe's hitbox travels forward. A directional dodge toward his back puts you in the safe zone; a backstep keeps you in the arc.
- Use the Dread Axe after the fight. Equip it to break chain barriers in Weeping Creek Valley and reach optional chests and shortcuts.
- Do not parry the grab. The grab is unblockable. If you see his hand open, dodge away.
Recommended loadout
| Slot | Pick | Reason |
|---|---|---|
| Weapon | Wooden Sanguine or Jagged Steel | Fast recovery lets you punish and reset |
| Phantom Edge | Any ranged edge | Covers the gap while he charges |
| Skill | Fluid Form | Converts a dodge into immediate pressure |
| Skill | Healing Art | Extra medicine for the learning attempts |
Heavy weapons work too, but the long recovery makes the punish window tighter. If you are still learning the fight, speed beats damage.
Common mistakes
- Standing in front of him. The entire moveset is designed to hit that space.
- Dodging backward. The axe arc and the charge both cover the retreat lane.
- Greeding for a third hit. Peng Meng's Elbow Charge exists specifically to punish long combos.
- Ignoring the Dread Axe. It is both a weapon and a traversal tool; skipping it locks exploration shortcuts.
FAQ
Where is Peng Meng in Phantom Blade Zero?
At the Valley Outpost in Weeping Creek Valley, on the main story route.
What does Peng Meng drop?
The Dread Axe, a Destructive Phantom Edge. It can also break chains in exploration.
Is Peng Meng optional?
No. He is a mandatory story boss.
How do you dodge Peng Meng's axe?
Dodge toward his back or flank, not backward. The horizontal sweep covers the retreat lane.
Can you parry Peng Meng?
You can parry some of his axe swings, but the grab and ground slam are not parryable. Dodging is more reliable because his recovery is long enough to punish without risking a mistimed parry.
Where to go next
Sources and further reading
Official reference: Phantom Blade Zero — S-GAME's official game site.
More Phantom Blade Zero Guides
Beat Mu Xiaokui in Phantom Blade Zero: the rapier phase, the Queen of Iron and Jade unarmed phase, add control, and the punish windows that win the fight.
Survive The Hunt in Phantom Blade Zero: the cramped carriage fight, kusarigama parry timing, the half-health cutscene, and the harder Sixfold Scythe rematch.
Beat Zuo Shang in the Phantom Blade Zero prologue: read the blue and red flashes, punish both phases, and learn the parry timing that carries forward.
Every Phantom Blade Zero boss in story order, grouped by region, with rewards, ending requirements, and links to full attack-by-attack strategies.
How Phantom Blade Zero's endings work, the perfect ending checklist, the four Acolyte masks, Crystal Puppet Eyes, Long Pillars, and the point of no return.
Every Phantom Blade Zero region in order, what each map hides, how bell checkpoints and fast travel work, and the optional areas that gate the perfect ending.
A practical Phantom Blade Zero parry guide: the exact blue-flash timing, why parries fail, how red attacks differ, and how to turn a guard break into damage.
A focused Phantom Blade Zero wiki: boss order and fight breakdowns, all weapons and Phantom Edges, skill routes, builds, endings, and a full walkthrough.